Creating Your Own Water Play Station: A Guide to Sparkling and Splashing Fun
As the summer sun beats down, there’s nothing quite like the refreshing, joyful sounds of children playing in the water. But why settle for a basic sprinkler when you can create your very own DIY water play station that sparkles and splashes with creativity and fun? Dive into the world of crafting your own water wonderland with our guide to creating dazzling water play stations that will keep the little ones entertained for hours on end.
Materials and Tools for Crafting Water Play Stations
Creating DIY water play stations can be a fun and exciting project, but it’s important to make sure you have all the necessary materials and tools before getting started. Some essential items you’ll need include:
- A large plastic tub or container
- Waterproof sealant or spray paint
- Various water toys and accessories (e.g. water guns, pool noodles, plastic cups)
- Waterproof adhesive or glue
- Scissors
- Decorative materials (e.g. glitter, stickers, paint)
You can also get creative and use items you already have at home, such as old buckets, plastic bottles, or even a kiddie pool. Just make sure they are waterproof and safe for children to play with.
Step-by-Step Guide to Creating Your Water Play Station
Now that you have all the necessary materials and tools, it’s time to get crafting! Follow these simple steps to create your own sparkling and splashing water play station:
Step 1: Prepare the Container
Start by choosing a large plastic tub or container that will serve as the base of your water play station. Make sure it’s clean and dry before moving on to the next step.
Step 2: Waterproof the Container
If your container is not already waterproof, you can use a waterproof sealant or spray paint to ensure it can hold water without leaking. Follow the instructions on the product carefully and allow it to dry completely before moving on to the next step.
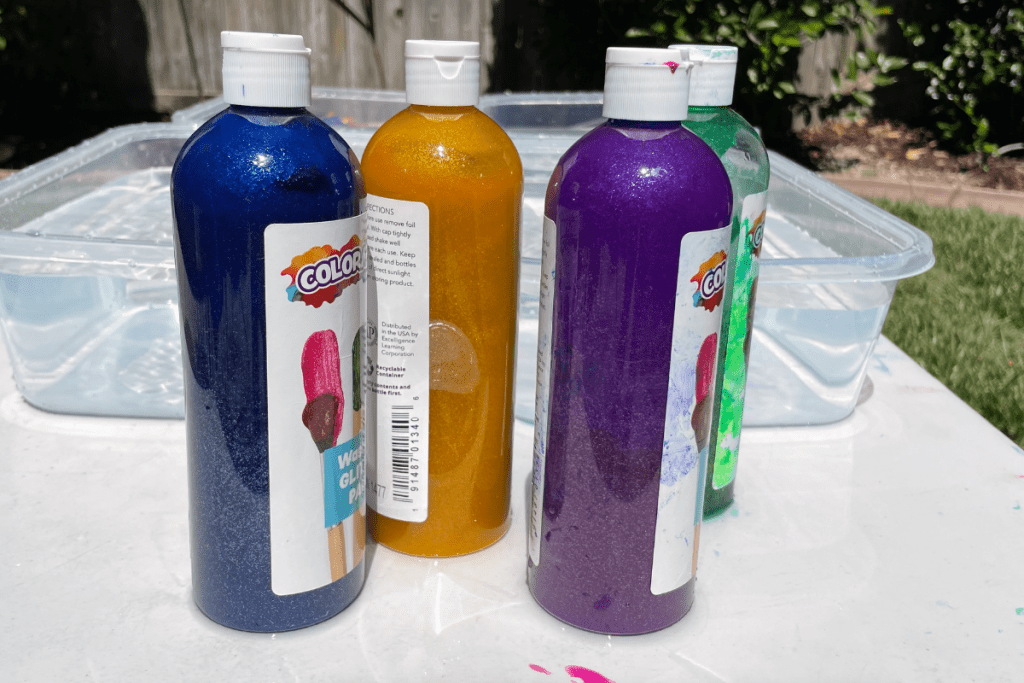
Step 3: Add Decorations
This is where you can get creative and add your own personal touch to the water play station. Use waterproof adhesive or glue to attach decorative materials such as glitter, stickers, or paint to the container. You can also use waterproof markers to draw designs directly on the container.
Step 4: Fill the Container with Water
Once the decorations are dry, fill the container with water. Make sure to leave enough space for the water toys and accessories you’ll be adding later.
Step 5: Add Water Toys and Accessories
Now it’s time to add the fun! Fill the water play station with various water toys and accessories, such as water guns, pool noodles, and plastic cups. You can also add items like rubber ducks or floating toys for extra entertainment.
Step 6: Let the Fun Begin!
Your DIY water play station is now ready for hours of fun and splashing! Encourage children to use their imagination and come up with different games and activities to play with the water play station.
Benefits of DIY Water Play Stations
Aside from being a fun and creative activity, DIY water play stations also offer many benefits for children, including:
- Encouraging outdoor play and physical activity
- Stimulating imagination and creativity
- Developing fine motor skills
- Teaching children about cause and effect
- Promoting social interaction and teamwork
Plus, with a DIY water play station, you can customize it to fit your child’s interests and preferences, making it even more engaging and enjoyable for them.
In Conclusion
Creating your own water play station is a fun and easy way to keep children entertained during the hot summer months. With just a few materials and some creativity, you can create a sparkling and splashing wonderland that will provide hours of fun and learning for children. So why settle for a basic sprinkler when you can create your own personalized water play station? Get crafting and let the fun begin!
Unique and Engaging Ideas for DIY Water Play Stations
When it comes to crafting your own water play stations, the possibilities are endless! Let your imagination run wild with themes such as a thrilling pirate adventure or a tranquil tropical oasis. You can also add interactive elements like water fountains, slides, or spinning wheels for an extra dose of excitement.
Essential Tips for a Safe and Successful Water Play Station
As you embark on your DIY water play station project, it’s important to prioritize safety above all else. Take the necessary precautions to ensure a fun and secure experience for everyone involved. Here are some key tips to keep in mind:
-
- Choose sturdy and durable plastic tubs or containers to hold the water.
-
- Include a variety of water toys and accessories to keep kids engaged and entertained.
-
- Use water hoses or buckets to fill and refill the play station.
-
- Apply a waterproof sealant or adhesive to prevent any leaks or spills.
-
- Incorporate decorative elements like shells or rocks to enhance the visual appeal.
By following these safety tips and incorporating these essential items, you can create a splashing success with your DIY water play station.
Creating a Safe and Fun DIY Water Play Station: Tips and Tricks
Water play is a popular and enjoyable activity for children, especially during the hot summer months. It allows them to cool off and have fun at the same time. However, when it comes to creating your own DIY water play station, safety should always be a top priority. Here are some important tips to follow to ensure a splashing success:
– Always provide adult supervision at all times to ensure the safety of the children.
– Use non-toxic materials to avoid any potential harm or allergies.
– Make sure all water play stations are securely set up to prevent any accidents or injuries.
– Teach children about water safety and proper use of the play stations to promote responsible play.
By following these tips, you can create a safe and enjoyable experience for everyone involved in your DIY water play adventure. It is important to prioritize safety while still having fun.
Adding a Personal Touch: Ideas for Your DIY Water Play Station
Now that you have the basics covered, it’s time to get creative and add some personal touches to your DIY water play station. Here are some ideas to get you started:
– Use recycled materials such as plastic bottles, buckets, and containers to create unique water play stations.
– Incorporate educational elements by adding numbers, letters, or shapes to the play stations.
– Create a theme for your water play station, such as a pirate ship or a jungle safari.
– Add some music and dancing to the mix by setting up a mini water dance party with sprinklers and water guns.
The possibilities are endless, so let your imagination run wild and have fun with it!
Ensuring a Safe and Enjoyable Experience
In addition to following the safety tips mentioned above, there are a few more things you can do to ensure a safe and enjoyable experience for everyone:
– Regularly check and clean the play stations to prevent any buildup of bacteria or mold.
– Have a first aid kit nearby in case of any minor accidents.
– Keep a close eye on the weather and avoid playing with water during thunderstorms or strong winds.
– Encourage children to take breaks and stay hydrated while playing.
By taking these extra precautions, you can ensure that your DIY water play station remains a safe and fun activity for all.
In Conclusion
Creating your own DIY water play station can provide endless fun and entertainment for both children and adults alike. With just a few simple materials and a little bit of creativity, you can bring the joy of water play to your own backyard. Remember to prioritize safety, add personal touches, and have fun with it. So go ahead and make a splash with your very own DIY water play station!Transforming Your Backyard into a DIY Water Play Station
Are you looking for a fun and refreshing way to spend time with your family in your own backyard? Look no further than a DIY water play station! Whether it’s a hot summer day or a rainy afternoon, a sparkling splash station can provide endless entertainment and create lasting memories. So, let’s roll up our sleeves and dive into the world of DIY water play stations.
Why Choose a DIY Water Play Station?
There are many reasons why a DIY water play station is the perfect addition to your backyard. First and foremost, it’s a budget-friendly option compared to purchasing a pre-made water play set. You can use materials you already have at home or find affordable items at your local hardware store. Plus, building your own water play station allows for customization and creativity, making it a unique and personalized experience for your family.
Another benefit of a DIY water play station is that it can be easily modified to fit your space and needs. Whether you have a small backyard or a large one, you can adjust the size and design of your water play station to make the most of your space. You can also add or remove features based on your children’s ages and interests, ensuring that the fun never gets old.
Materials You’ll Need
Before we dive into the different types of DIY water play stations, let’s go over the basic materials you’ll need. These include:
– A large plastic container or pool
– PVC pipes and connectors
– Water hose or sprinkler
– Buckets, cups, and other water toys
– Waterproof sealant (if using wood)
– Optional: pool noodles, sponges, and other materials for added fun
Now, let’s explore some creative and fun DIY water play station ideas that you can easily make at home.
1. PVC Pipe Water Wall
A PVC pipe water wall is a simple yet exciting water play station that can be easily customized to fit your space and preferences. Start by attaching PVC pipes of different lengths and sizes to a wooden frame or fence using connectors. You can also add funnels, tubes, and other attachments to create a unique water flow. Then, attach a water hose or sprinkler to the top of the frame and let the water flow down the pipes, creating a fun and interactive water wall.
2. Pool Noodle Sprinkler
For a quick and easy DIY water play station, try making a pool noodle sprinkler. Simply poke holes into a pool noodle and attach it to a water hose. The water will spray out of the holes, creating a fun and refreshing sprinkler for your kids to run through. You can also attach multiple pool noodles together to create a larger sprinkler or add sponges and other materials for added texture and fun.
3. Water Table
A water table is a classic and versatile DIY water play station that can provide hours of entertainment for children of all ages. You can use a plastic container or build a wooden table with a waterproof sealant. Fill the table with water and add various water toys, such as cups, boats, and water wheels. You can also add food coloring or bath toys for added sensory play.
4. Slip and Slide
A slip and slide is a fun and exciting DIY water play station that is perfect for hot summer days. All you need is a large plastic sheet, a water hose, and some dish soap. Lay the plastic sheet on a flat surface and add water and dish soap to create a slippery surface. Then, let your kids slide and splash their way down the slide for endless fun.
In Conclusion
With these DIY water play station ideas, you can transform your backyard into a fun and refreshing oasis for your family to enjoy. Remember to always supervise your children while they play and have fun customizing and creating your own unique water play station. So, what are you waiting for? Roll up your sleeves and get ready to make a splash in your own backyard!