Are you tired of the scorching heat this summer and looking for a fun way to cool off? Why not create your own personalized water table? In this comprehensive guide, we will walk you through the steps of building a water table that will keep your little ones entertained for hours. Get ready to make a splash with this unique and refreshing project!
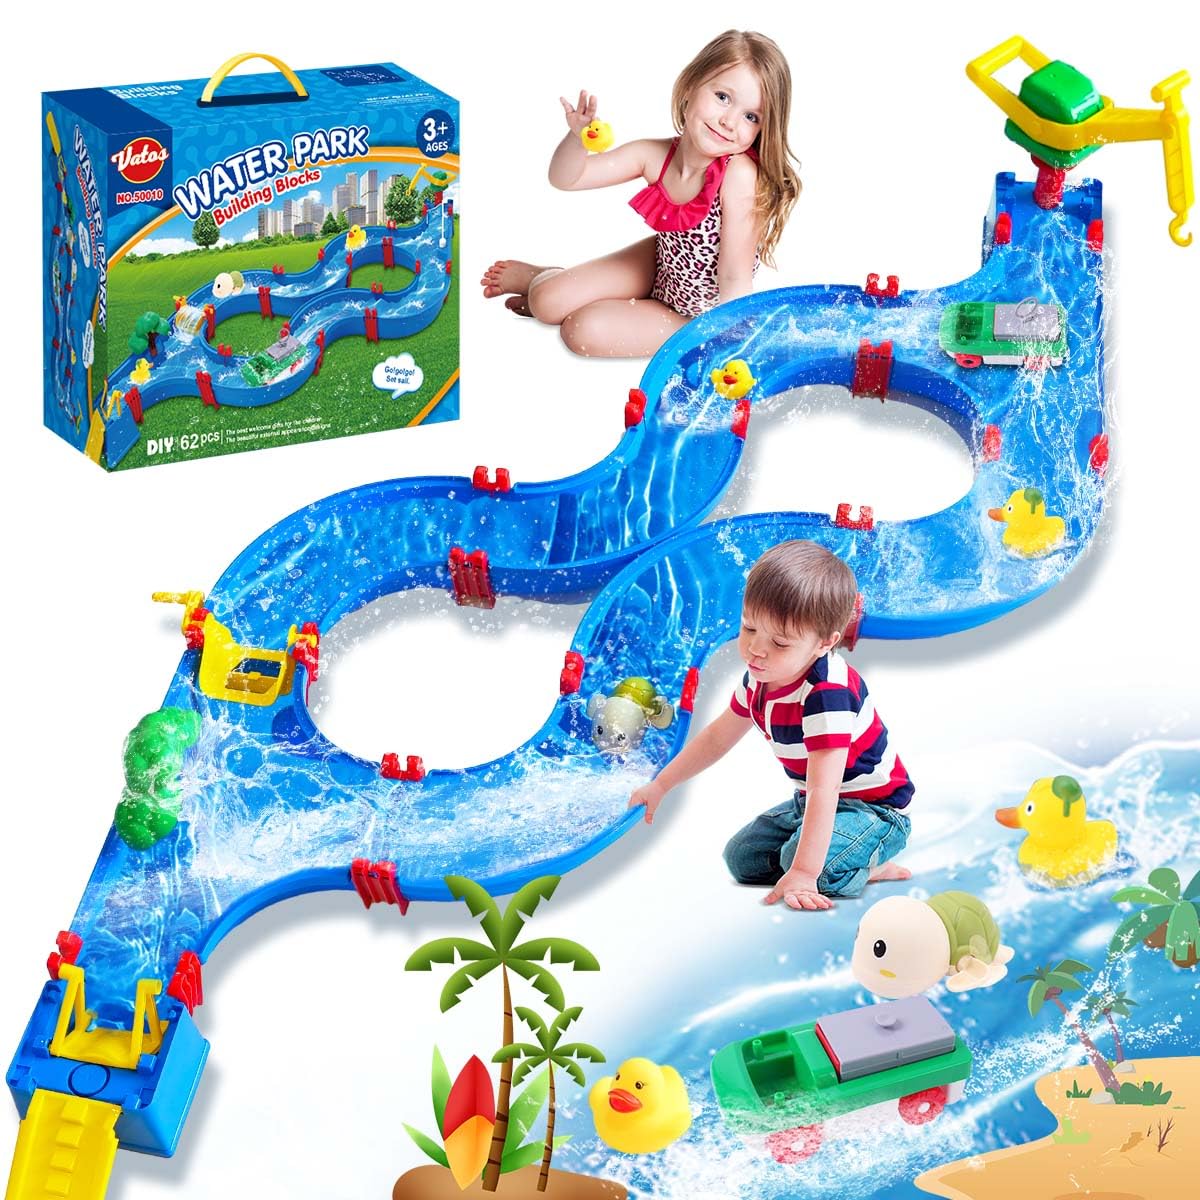
Choosing the Perfect Materials and Tools
Before starting your DIY water table project, it is crucial to carefully select the right materials and tools. Opt for durable materials like weather-resistant wood or plastic to ensure the longevity of your splash zone. Additionally, gather essential tools such as a saw, drill, measuring tape, and sandpaper.
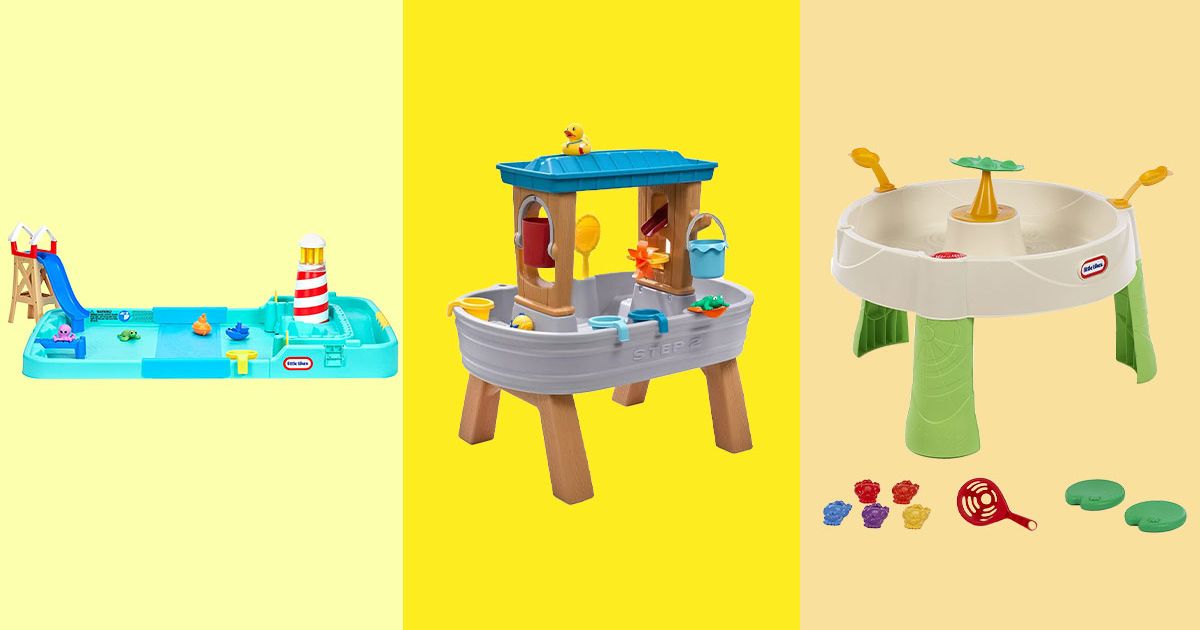
It is also essential to consider the size and design of your water table. You can choose to build a small table for toddlers or a larger one for older children. Keep in mind the space you have available and the age of your children when deciding on the size and design.
Building Your Water Table
Now that you have all the necessary materials and tools, it’s time to start building your water table. Follow these simple steps to create your own personalized splash zone:
- Begin by cutting the wood or plastic to the desired size and shape for your water table. You can choose to have a rectangular, square, or circular table.
- Next, use a drill to create holes in the top of the table for the water to flow through. You can make the holes in a pattern or randomly, depending on your preference.
- Smooth out any rough edges with sandpaper to prevent splinters.
- Attach legs to the bottom of the table for stability. You can use pre-made table legs or create your own using wood or PVC pipes.
- Paint or decorate your water table as desired. You can use waterproof paint or add stickers and decals for a fun touch.
- Fill the table with water and add toys and accessories for the ultimate splash zone experience.
With these simple steps, you can create a personalized water table that will provide endless hours of fun for your children. You can also add additional features such as a drain plug or a cover to protect the table when not in use.
Benefits of a DIY Water Table
Aside from being a fun and creative project, building a DIY water table has many benefits. It allows you to customize the size, design, and features of the table to fit your specific needs and preferences. It is also a cost-effective option compared to purchasing a pre-made water table.
Moreover, a DIY water table promotes hands-on learning and creativity for children. They can help with the building process and use their imagination to decorate and play with the table. It also encourages outdoor play and provides a fun way to beat the heat during the summer months.
Conclusion
In conclusion, creating your own water table is a fun and rewarding project that will keep your children entertained and cool during the hot summer days. With the right materials, tools, and a little creativity, you can build a personalized splash zone that your children will love. So, gather your supplies and get ready to make a splash with this DIY water table project!
Creating a water table can be a fun and rewarding project, but it’s important to ensure that the construction process is smooth and efficient. To achieve this, it’s crucial to have all the necessary materials and tools on hand. Additionally, don’t forget to stock up on waterproof sealant to protect your water table from the elements.
If you’re ready to get started, follow these step-by-step instructions for building your water table. First, carefully cut the wood or plastic components to the desired dimensions, using detailed blueprints or plans as a guide. Then, assemble the pieces using screws or glue, making sure to reinforce the structure for added stability. Finally, apply a coat of waterproof sealant to protect your creation from water damage.
Now that your water table is built, it’s time to get creative and customize your splash zone. Here are some ideas and tips to help you make your water table unique and exciting:
– Add different levels or tiers to your water table to create a more dynamic and interesting play experience.
– Incorporate fun features like water wheels, fountains, or sprayers to add an element of surprise and delight for children.
– Use different materials such as rocks, sand, or shells to create a sensory experience and encourage imaginative play.
– Consider adding a theme to your water table, such as a pirate ship or a jungle adventure, to spark children’s imaginations.
– Don’t be afraid to experiment with different shapes and sizes for your water table. A circular or hexagonal design can add a unique touch to your creation.
– To make your water table more educational, you can add numbers, letters, or shapes to the design for children to discover and learn while they play.
Remember to have fun and be creative with your water table. By following these tips and ideas, you can create a one-of-a-kind splash zone that will provide hours of entertainment for children. And don’t forget to regularly maintain and reapply waterproof sealant to keep your water table in top condition for years to come.Building Your Own Splash Zone with a Customized Water Table
Once you have constructed your water table, it is time to unleash your creativity and make it truly unique. Adding fun features and personal touches will enhance the sensory experience for children and provide hours of entertainment for the whole family. In this article, we will discuss some ideas for customizing your water table and creating a one-of-a-kind splash zone.
Fun Features to Consider
One way to make your water table stand out is by incorporating fun features such as built-in water pumps, fountains, or swirling channels. These additions will not only add to the visual appeal of the water table but also provide a more interactive experience for children. They can experiment with different water flows and learn about cause and effect while having fun.
Personalizing Your Water Table
Another way to make your water table unique is by personalizing it with colorful paint, decals, or stencils. Let your imagination run wild and create a design that reflects your child’s interests or matches the theme of your outdoor space. You can also involve your child in the decorating process, making it a fun and creative activity for both of you.
Don’t Forget the Accessories
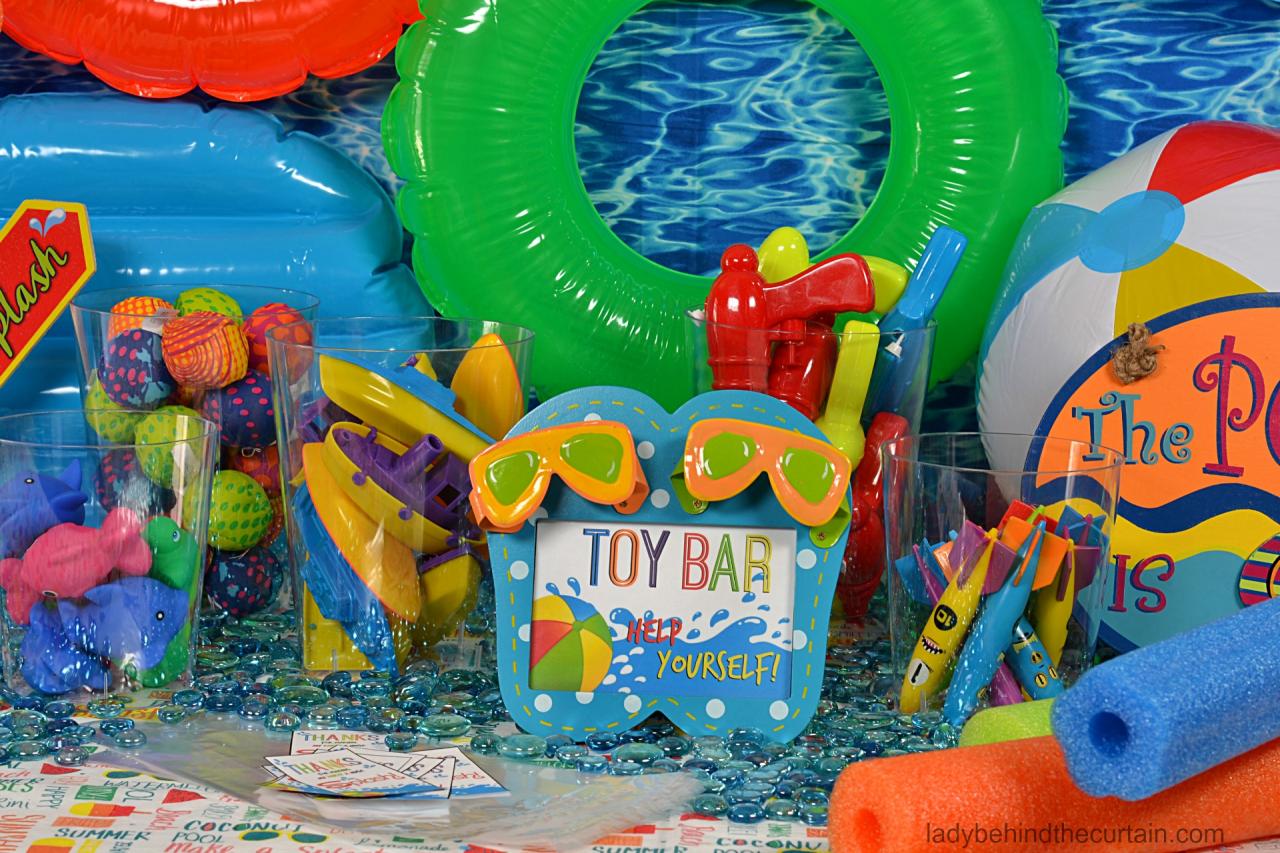
To complete the ultimate water play experience, don’t forget to add accessories such as buckets, cups, and water toys. These items will allow children to explore and play in different ways, promoting their motor skills and creativity. You can also switch out the accessories to keep the water table exciting and engaging for your child.
Wrapping Up
In conclusion, building your own splash zone with a customized water table is a fun and easy project that will provide endless entertainment for your family. By adding fun features, personalizing the design, and including accessories, you can create a unique and engaging water play experience for your child. So, let your creativity flow and create a one-of-a-kind splash zone that your child will love.Creating a Custom Water Table: A Fun and Engaging DIY Project for Kids
Are you looking for a fun and engaging activity to keep your little ones entertained for hours? Look no further than a DIY water table! With our step-by-step guide, or by adding your own personal touch, the possibilities are endless. So, let’s roll up our sleeves, gather our materials, and dive into the world of custom water tables.
Unleash Your Creativity
The beauty of a DIY project is the freedom to let your imagination run wild. With a custom water table, you have the opportunity to create a unique and personalized design that will captivate your child’s attention. From adding fun features like slides and fountains to incorporating their favorite colors and characters, the possibilities are endless.
Step-by-Step Guide
To get started, gather your materials. You will need a plastic storage bin, PVC pipes, connectors, a drill, and a saw. Once you have all your materials, follow these simple steps:
1. Measure and cut the PVC pipes to the desired length for your table legs.
2. Drill holes in the storage bin for the pipes to fit through.
3. Assemble the PVC pipes and connectors to create the frame for your table.
4. Place the frame inside the storage bin and secure it in place.
5. Fill the bin with water and let the fun begin!
Make a Splash with Endless Adventures
As your child plays with their custom water table, they will be immersed in a world of fun and creativity. They can splash, pour, and explore to their heart’s content. Not only is it a great way to keep them entertained, but it also promotes sensory play and fine motor skills development.
New Perspectives and Ideas
If you’re feeling extra creative, you can also add new features to your water table. For example, you can incorporate a water wheel or a mini waterfall. You can also use different materials like sand, rocks, or even food coloring to add a new dimension to the play experience.
A Fun and Educational Activity
Aside from being a source of entertainment, a custom water table can also be a great educational tool. You can use it to teach your child about colors, shapes, and even basic science concepts like buoyancy and water flow.
Incorporate Current Trends
To make your water table even more exciting, you can incorporate current trends or themes that your child is interested in. For example, if they love dinosaurs, you can create a prehistoric-themed water table with toy dinosaurs and a volcano feature. This will not only keep them engaged but also make the activity more relevant and enjoyable for them.
In Conclusion
A custom water table is a fantastic DIY project that will provide hours of entertainment for your little ones. With endless possibilities for creativity and learning, it’s a great way to keep your child engaged and stimulated. So, gather your materials, let your imagination run wild, and create your very own splash zone today!
